Domain verification in the Azure Portal
If you’re hosting an Azure app service with a custom domain, chances are that your site’s SSL certificate is provided by Azure as well. One great feature that comes with Azure certificates is the auto renewal feature, making sure that your site is always safe and secure. But in order for the auto renewal to stay on track you might need to make a domain verification once in a while. This in order to verify that you’re still the owner of your site’s custom domain.
This is how I perform domain verifications via Azure DNS.
1. Your SSL certificate
A domain verification is valid for 395 days. An auto renewal of a certificate is done at the earliest 32 days for it expires.
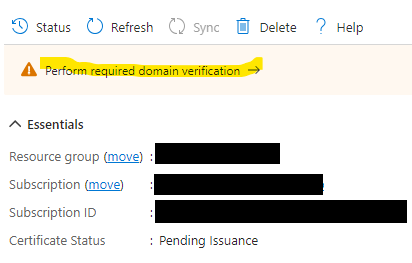
In the Azure portal, navigate to the ‘Overview’ blade of the certificate. If you see the highlighted label, this means that the previous domain validation has expired. Click the ‘Perform required domain verication’ label or the ‘Certificate Configuration’ tab in the left hand panel.
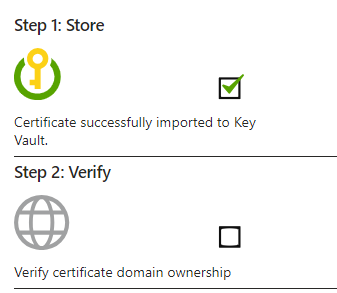
If the check box next to ‘Step 2: Verify’ is unticked, click anywhere in that section.
2. Aquiring a domain verification token
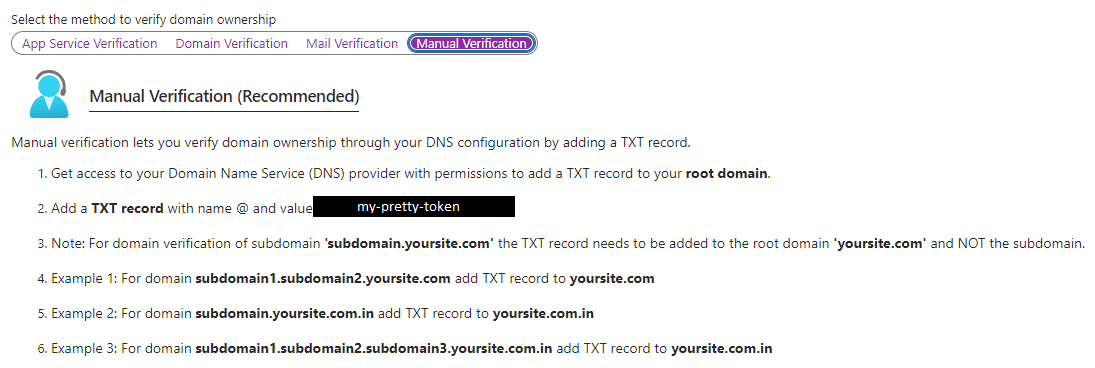
In the next view, click the ‘Manual verification’ tab. There will appear a numbered list. In step 2 in the numbered list there will be a randomly generated token string. Copy this string, we will need it later.
3. Applying the verification token in your DNS
NOTE: Before making changes to any DNS, ALWAYS make a backup of the config values in case you need to revert.
Navigate to the Azure DNS resource handling the domain you want to verify.
If the DNS is configured properly, you should already have a TXT record named ‘@’. If not, create that record now.
Click the row representing the TXT record named ‘@’.

In the next view there should be a couple of input fields. In one of the fields in the ‘Value’ section there should be a string in the same format as the token we copied in step 2. In this example it’s the input field in the middle labeled ‘my-pretty-token’.

Replace the current token with the token generated in step 2. Click ‘Save’.
4. Syncing your changes
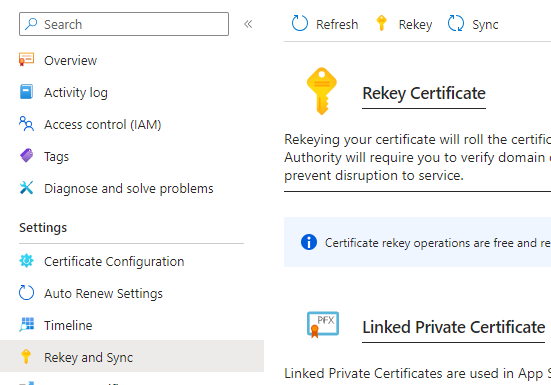
Navigate back to your certificate resource. Click the ‘Rekey and Sync’ tab in the left hand panel.
Click the ‘Sync’ button. The changes you made in step 3 is most often applied instantly, but it can take upwards of an hour for the changes to take effect.
5. Ta-dah!
Navigate back to the ‘Certificate Configuration’ tab. If all has gone well, you should now see ticked check boxes next to all sections in the view.
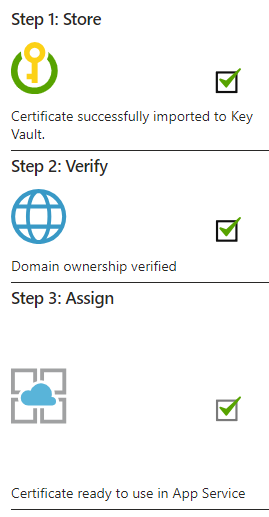
Now you’re good to go for another two years before you need to make another domain verification!
Happy coding!